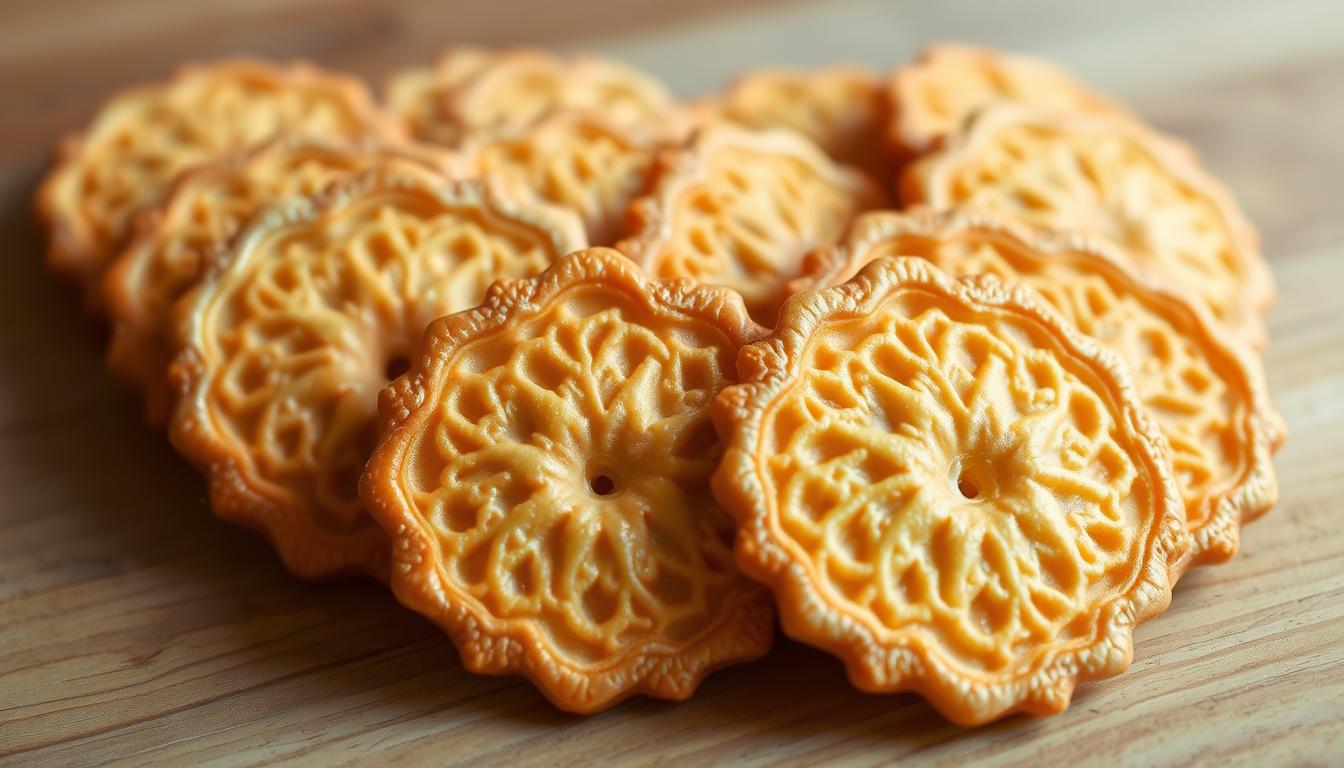
Discover How to Make Crispy Wafer Cookie at Home
Watching my grandmother make wafer in her sunny kitchen was magical. The thin, crispy layers seemed to come to life before my eyes. It sparked my love for making perfect wafer cookies, a journey of texture, flavor, and skill.
Making wafer is a fun art for baking lovers and curious cooks. These thin treats are more than snacks; they’re a chance to get creative and try new flavors. With the right steps, you can make crispy delights that are as good as store-bought ones.
Table of Contents
In this guide, we’ll share secrets for making amazing wafer cookies. You’ll learn about their history, how to make the perfect batter, and more. You’ll be able to make these crispy snacks that will wow your family and friends.
Key Takeaways
- Learn the art of creating perfect crispy wafer cookies
- Understand the essential ingredients and techniques
- Discover how to achieve the ideal wafer texture
- Explore creative filling and flavor combinations
- Master professional baking tips for consistent results
Understanding Wafer Fundamentals
Wafer cookies are a world of layered confections that delight people everywhere. They mix crisp textures with rich flavors. This creates a unique taste experience that crosses cultures and ages.
Origins and Historical Journey
The history of wafer cookie goes back centuries. They started in European kitchens, where bakers made thin, crispy layers. Each region added its own twist to these treats:
- Italian pizzelle date back to the 8th century
- Austrian Törtchen are known for their designs
- Dutch stroopwafels have caramel fillings
Diverse Wafer Cookie Variations
Today, wafer come in many styles around the world. Each style brings its own special touch to these treats:
- Vanilla cream-filled wafers
- Chocolate-coated varieties
- Nutty flavored options
- Exotic regional specialties
Essential Characteristics of Perfect Wafers
To make a great wafer cookie, you need to know what makes them special. Look for these key features:
- Ultra-thin, crisp layers
- Delicate, light texture
- Balanced sweetness
- Smooth, consistent filling
Wafer cookies are more than just a snack—they’re a culinary art form that connects cultures through shared love of delicate, crispy treats.
Essential Ingredients and Equipment Needed
Making delicious wafer needs the right ingredients and tools. Start by knowing the key parts that make these treats tasty.
- All-purpose flour (base of the cookie)
- Granulated sugar (for sweetness and texture)
- Unsalted butter (creates rich flavor)
- Fresh eggs (binding agent)
- Vanilla extract (adds depth of flavor)
- Salt (enhances overall taste)
Quality ingredients are key for great wafer cookies. Use fresh, high-grade products for the best taste. Organic butter and farm-fresh eggs can make your cookies stand out.
Essential Baking Equipment
| Equipment | Purpose |
|---|---|
| Electric mixer | Creating smooth, consistent batter |
| Baking sheets | Providing even heat distribution |
| Parchment paper | Preventing sticking and easy removal |
| Cooling rack | Allowing wafer cookies to crisp up |
| Offset spatula | Spreading batter evenly |
If you follow a special diet, gluten-free flour and plant-based butter alternatives are great substitutes. Remember, trying new ingredients is all part of the fun!
The Science Behind Crispy Wafer Textures
Making the perfect crispy treats is all about the science of wafer textures. Thin snacks like wafer cookies need careful choice of ingredients and cooking methods. Each part is important for that crunchy feel you love.
The secret of crispy wafer is at the molecular level. Ingredients work together to turn simple parts into amazing thin snacks with great texture.
Role of Butter and Sugar
Butter and sugar do more than add flavor. They are key in making your treats crispy. Sugar caramelizes, forming structures that make them crunchy. Butter spreads heat evenly, helping them brown and crisp up.
- Sugar creates structural integrity
- Butter ensures even heat distribution
- Precise ratios guarantee optimal texture
Temperature Control Significance
The baking temperature greatly affects wafer cookie texture. Consistent heat is essential for that perfect crisp. If it’s too low, they stay soft. Too high, and they burn before getting crunchy.
Moisture Content Balance
Getting the moisture right is crucial for thin snacks. Too much makes them soggy, too little makes them brittle. The right amount of moisture gives them a crisp that breaks just right.
Precision is the secret ingredient in creating world-class crispy treats.
Ingredient Preparation
First, gather all your ingredients and tools. You’ll need:
- All-purpose flour
- Granulated sugar
- Unsalted butter
- Eggs
- Vanilla extract
- Salt
Mixing the Batter
To make perfect wafer cookies, you need a smooth, thin batter. Start by sifting dry ingredients together. Precision is crucial in wafer cookie preparation. Cream butter and sugar until light and fluffy. Then, add eggs and vanilla slowly.
| Ingredient | Measurement | Purpose |
|---|---|---|
| Flour | 1 cup | Provides structure |
| Sugar | 1/2 cup | Adds sweetness |
| Butter | 1/2 cup | Creates richness |
Baking Technique
Evenly spreading the batter is key for thin, crispy cookies. Use an offset spatula to spread it thinly on a baking sheet. Bake at 350°F for 8-10 minutes until the edges are golden.
- Preheat oven to 350°F
- Line baking sheet with parchment paper
- Spread batter thinly
- Bake until edges are golden
- Cool completely before handling
With practice, you’ll make wafer cookies as good as any bakery’s. The secret is in precise measurements and consistent technique.
Mastering the Perfect Wafer Batter Consistency
Making wafer cookies is all about the batter. To get crispy, thin snacks, you need to know how to mix the batter right. It’s all about the right mix, choosing the right ingredients, and the right way to do it.
Mixing Techniques for Ideal Wafer
Mixing your wafer cookie batter needs a gentle hand. Here are the key steps for smooth, even results:
- Use room temperature ingredients
- Sift dry ingredients thoroughly
- Mix wet and dry ingredients gradually
- Avoid aggressive stirring
Common Batter Mistakes to Avoid
Stay away from these mixing mistakes to avoid wafer cookie disasters:
- Over-mixing: Makes cookies tough
- Using cold ingredients that don’t blend smoothly
- Inconsistent ingredient measurements
- Mixing at high speeds
Testing Batter Readiness
Knowing when your batter is just right is key. Use these expert tips to check your batter’s consistency:
| Batter Characteristic | Ideal Consistency | Action Needed |
|---|---|---|
| Thickness | Flows smoothly like heavy cream | Add liquid or flour to adjust |
| Smoothness | No visible lumps | Sift or strain batter |
| Spreadability | Easily coats the back of a spoon | Adjust mixing technique |
Mastering these batter techniques will turn your thin snacks into top-notch wafer cookies. They’ll be crisp, delicate, and super tasty.
Baking Techniques for Optimal Crispiness
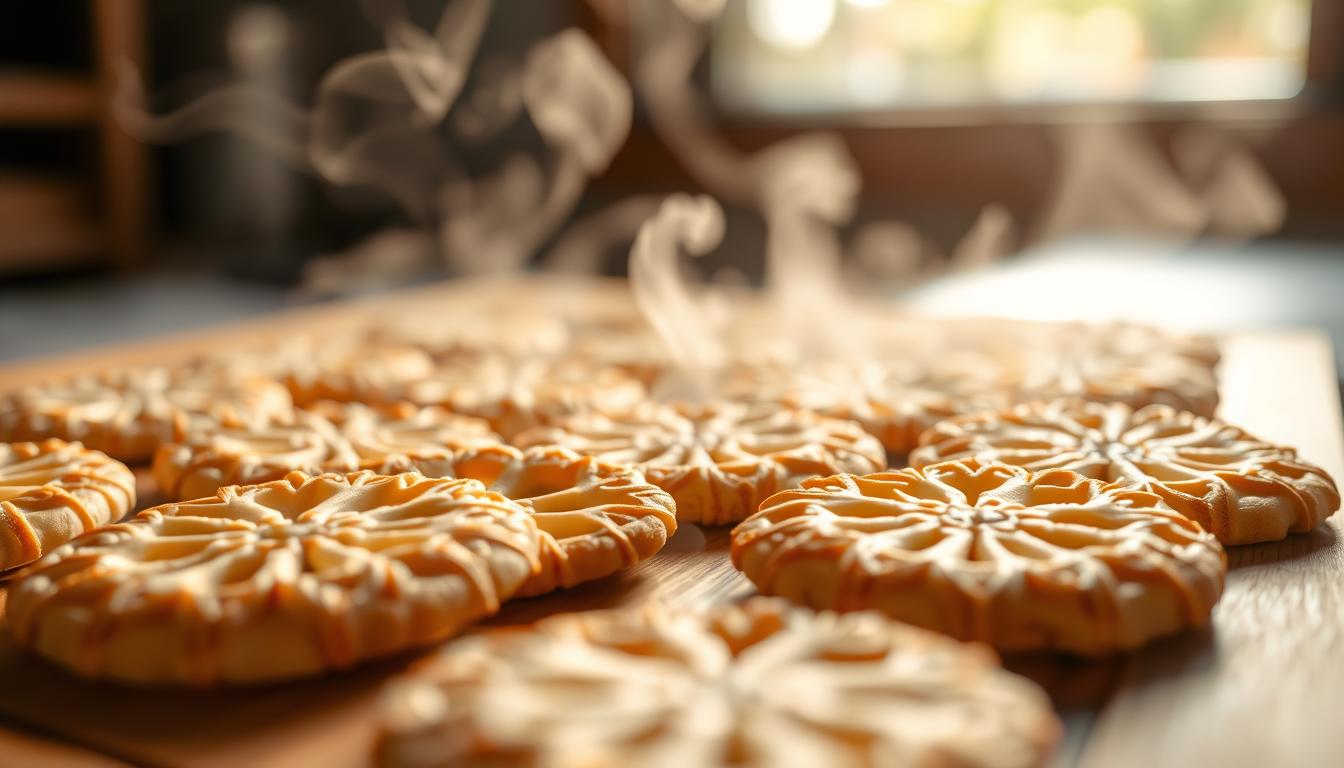
Mastering the art of baking crispy treats needs precision and understanding of specific techniques. Wafer cookies require careful attention to achieve that perfect crunch. The right baking method can turn your simple recipe into a delicious masterpiece.
Temperature is key in achieving the ideal wafer texture. Professional bakers suggest setting your oven between 350-375°F (175-190°C) for the best results. This temperature range helps your crispy treats get a golden-brown color and a delicate, light structure.
- Preheat the oven thoroughly before placing wafers inside
- Use light-colored baking sheets to prevent excessive browning
- Spread batter evenly for consistent crispiness
- Watch cookies closely during the last few minutes of baking
Timing is also crucial when baking these delicate treats. Most wafer recipes need 8-10 minutes of baking. Look for subtle golden edges as your primary doneness indicator. If you remove them too early, they’ll be soft. If you leave them too long, they’ll burn.
Pro tip: Rotate your baking sheet halfway through cooking to ensure even heat distribution and uniform crispiness.
Different ovens can give different results, so knowing your oven is important. Consider using an oven thermometer to check the actual temperature. This helps ensure consistently perfect wafer cookies.
Creating Delicious Wafer Fillings
To make your homemade wafer truly special, focus on the filling. Choose ingredients that match the wafer’s crispness. The right filling turns a simple cookie into a gourmet delight.
Learning to make tasty fillings opens up new culinary possibilities. Your wafer cookies can showcase unique flavors that amaze everyone.
Classic Vanilla Cream Filling
A traditional vanilla cream filling adds elegance to your wafer cookies. Here’s what you need:
- Powdered sugar
- Softened butter
- Pure vanilla extract
- Heavy cream
Chocolate and Hazelnut Options
For those who love chocolate, there are rich fillings that make your wafer a decadent treat. Try these:
- Nutella-based spread
- Dark chocolate ganache
- Chocolate-hazelnut cream
Creative Filling Combinations
Try new flavor mixes for unique treats. Here are some ideas:
| Filling Type | Flavor Profile |
|---|---|
| Raspberry Cream | Tart and Sweet |
| Salted Caramel | Rich and Decadent |
| Matcha Cream | Earthy and Smooth |
Your fillings should balance flavor and texture. Look for smooth, spreadable textures that complement the wafer’s crispness.
Storage and Preservation Methods
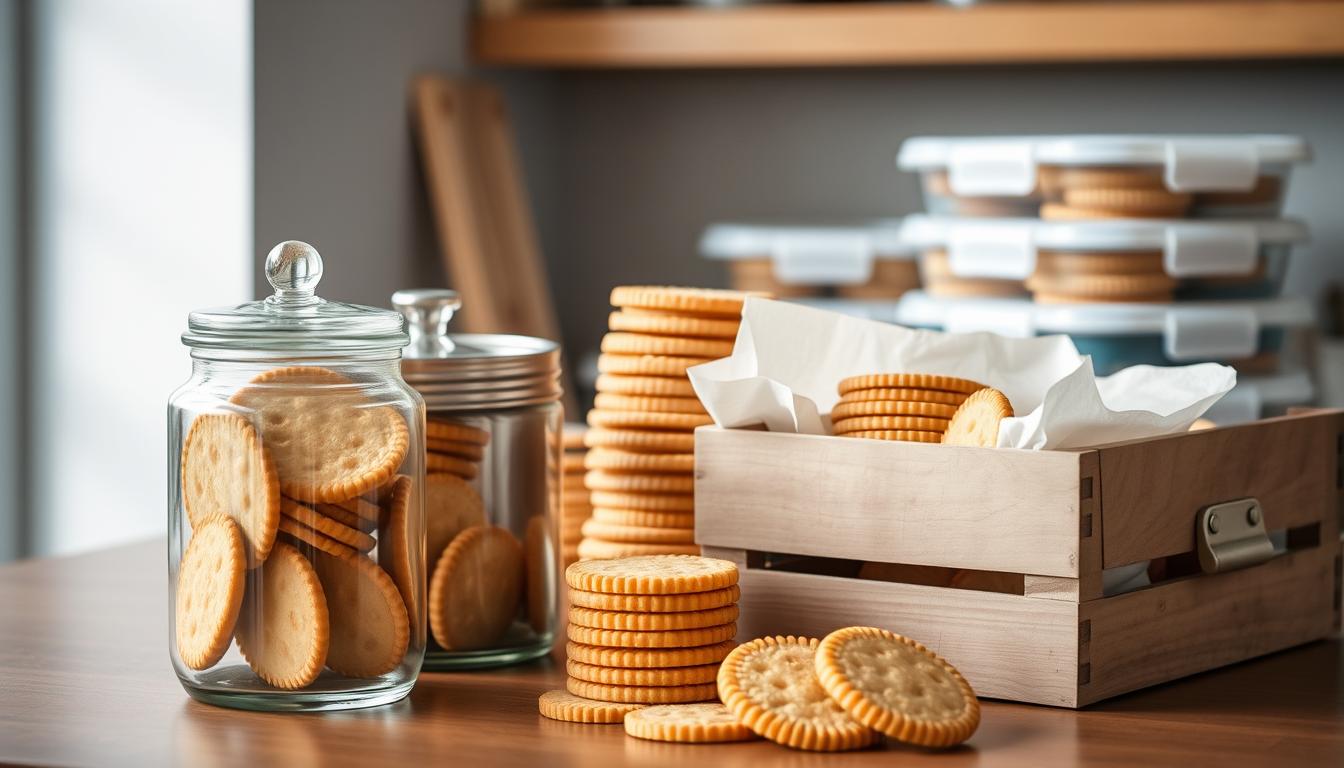
Keeping your homemade wafer crispy is key. They need special care to stay perfect. This ensures they keep their great taste and texture.
Here are the top tips for storing your wafer cookies:
- Always let wafer cool down before storing
- Use airtight containers to keep moisture out
- Keep them in a cool, dry spot, away from sunlight
- Use parchment paper between layers to stop sticking
Humidity is a big problem for wafer cookies. Moisture can turn them from crisp to soggy fast. To fight this, use silica gel packets in your container. They soak up extra moisture, keeping your cookies crunchy.
Freezing is a great way to store them for longer. Wrap your cookies in plastic wrap, then put them in a freezer-safe bag. They can stay fresh for 2-3 months if sealed well.
If your cookies start to lose their crunch, you can fix it. Just put them in a 300°F oven for 3-5 minutes. But watch them closely to avoid burning.
Pro tip: Always store different flavored wafer cookies separately to prevent flavor mixing.
By following these storage tips, your homemade wafer cookies will stay crispy and delicious. Everyone will love them.
Troubleshooting Common Wafer Issues
Making perfect wafer cookies can be tough, even for pros. These thin snacks need precision and attention to detail. This guide will help you solve common problems and make sure your wafer cookies are crispy and tasty every time.
Baking thin snacks requires skill and practice. You’ll face various challenges that can impact your wafer cookie quality. But, most problems have easy fixes.
Texture Troubles and Quick Fixes
The texture of wafer is key. If your cookies aren’t right, try these solutions:
- Soft Cookies: Increase baking time by 1-2 minutes
- Hard Cookies: Reduce oven temperature by 25 degrees
- Uneven Thickness: Use a rolling pin with adjustable thickness guides
Solving Baking Challenges
Common issues include uneven browning and sticking. Here are some tips to help:
- Use parchment paper to prevent sticking
- Rotate baking sheet halfway through cooking
- Ensure even oven temperature with an oven thermometer
Filling Consistency Solutions
The right filling texture is crucial for perfect wafer. Adjust your cream or spread with these methods:
- Runny Filling: Add powdered sugar or refrigerate briefly
- Thick Filling: Warm slightly or add a splash of milk
- Use room temperature ingredients for smooth consistency
With these expert tips, you’ll turn wafer challenges into culinary wins. Remember, practice makes perfect with these delicate thin snacks!
Conclusion
Making wafer at home turns baking into a fun adventure. You get to choose the ingredients, flavors, and textures. This is something store-bought cookies can’t offer.
By following the tips in this guide, you can make crispy, tasty wafer. They will wow your family and friends.
One of the best things about making wafer is trying new things. You can mix and match fillings and textures. This lets you create cookies that are just right for you.
Whether you like vanilla cream or chocolate hazelnut, your cookies will be better than store-bought ones. They’ll be fresh and of high quality.
Remember, making wafer takes practice. Each batch you make will help you get better at baking. Don’t worry if things don’t turn out perfectly at first.
See each mistake as a chance to learn and improve. This is how you develop your own baking style.
Your journey with wafer is just starting. With patience and creativity, you’ll soon make amazing baked goods. Start baking, have fun, and enjoy the sweet rewards of your creativity!
Share Your Creation!
I’d love to see how your Crispy Wafer Cookie turns out! If you make this recipe, please leave a comment and rating below. You can also share your creation by tagging me on pinterest @bake_iteasy with the hashtag #Crispy Wafer Cookie.
Did you try our recipe ?
There are no reviews yet. Be the first one to write one.