milk chocolate
Table of Contents
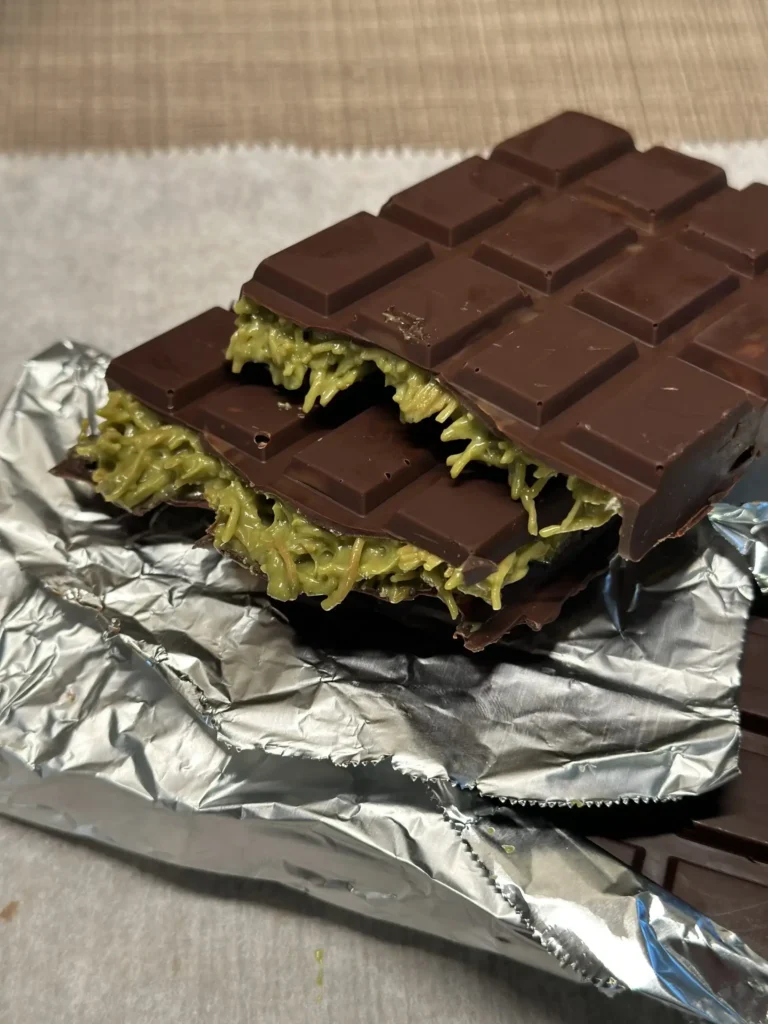
There’s something magical about the first bite of a perfectly crafted milk chocolate bar – that creamy texture, the delicate balance of sweetness, and the comforting cocoa notes. But what if I told you that you could create milk chocolate in your own kitchen that rivals or even surpasses what you find in stores? Whether you’re looking to avoid additives, create custom flavors, or simply experience the joy of chocolate crafting, this comprehensive guide will walk you through everything you need to know about making dairy milk chocolate at home.
In this guide, you’ll discover multiple methods for creating homemade milk chocolate – from beginner-friendly techniques requiring minimal equipment to more advanced approaches for the chocolate enthusiast. By the end, you’ll have all the knowledge you need to embark on your chocolate-making journey.
Understanding Milk Chocolate
Before diving into recipes and techniques, it’s important to understand what milk chocolate actually is. Unlike dark chocolate, milk chocolate contains milk solids in addition to cocoa solids, making it creamier and sweeter.
Key ingredients in milk chocolate include:
- Cacao solids (from cocoa powder, cacao nibs, etc.)
- Cocoa butter
- Milk solids (usually in powdered form)
- Sweeteners (sugar or alternatives)
- Emulsifiers (typically lecithin)
The primary difference between commercial and homemade milk chocolate lies in the control you have over ingredients and process. While mass-produced chocolate often contains additional stabilizers, preservatives, and lower-quality ingredients to extend shelf life and reduce costs, homemade chocolate allows you to select premium ingredients and customize to your exact preferences.
Ingredient Deep Dive
Cacao Source Options
The foundation of any chocolate is cacao, and you have several options to choose from:
| Cacao Source | Characteristics | Best For |
|---|---|---|
| Natural Cocoa Powder | Acidic, fruity notes, lighter color | Quick methods, pronounced chocolate flavor |
| Dutch-Processed Cocoa | Darker, milder flavor, less acidic | Smoother taste, better dissolution |
| Cacao Powder | Unprocessed, higher in nutrients, stronger flavor | Health-conscious recipes, intense flavor |
| Cocoa Nibs/Beans | Most authentic, requires grinding, complete control | Advanced methods, bean-to-bar approach |
| Cocoa Butter | Pure fat from cacao beans, adds smooth mouthfeel | Essential for proper chocolate texture |
The quality of your cacao products will significantly impact your final chocolate. Look for products that specify cacao percentage and origin for the best results.
Milk Solids
Milk is what transforms regular chocolate into milk chocolate, providing that signature creamy flavor and texture:
- Whole Milk Powder: Creates the richest, creamiest result with a fuller flavor profile. Ideal for traditional milk chocolate.
- Non-Fat Milk Powder: Produces a slightly lighter texture with less dairy fat. Good option if you want to control the exact fat content.
- Malted Milk Powder: Adds a unique malty note to your chocolate. Perfect for creating specialty flavors.
- Coconut Milk Powder: Excellent dairy-free alternative that still provides creaminess and subtle coconut notes.
The milk fat content plays a crucial role in mouthfeel and meltability. Higher fat content generally yields a smoother, richer chocolate.
Sweeteners
Different sweeteners affect not just sweetness, but also texture and crystallization:
- Caster Sugar: Dissolves more readily than granulated sugar, creating a smoother texture.
- Powdered Sugar: Contains cornstarch, which can affect texture but dissolves very easily.
- Erythritol: Sugar alcohol that provides sweetness with minimal calories, but can create a cooling effect.
- Maple Syrup/Honey: Liquid sweeteners add flavor but can affect chocolate’s ability to set properly.
For traditional milk chocolate, fine caster sugar or powdered sugar typically works best, but don’t be afraid to experiment with alternatives for unique results.
Emulsifiers
Emulsifiers are the unsung heroes of smooth chocolate:
- Soy Lecithin: The most common emulsifier, helps bind fat and water molecules for smooth texture.
- Sunflower Lecithin: Excellent soy-free alternative with similar properties.
- Why use emulsifiers? They prevent ingredients from separating, reduce viscosity (making chocolate easier to work with), and help prevent fat bloom (those white streaks that can develop on chocolate).
While lecithin is optional in some quick methods, even a small amount (0.5-1% of total weight) can dramatically improve your chocolate’s texture and shelf stability.
Optional Flavor Enhancers
- Vanilla: A small amount of vanilla extract or vanilla bean paste can significantly enhance chocolate flavor.
- Salt: A tiny pinch brings out chocolate’s complex notes without making it taste salty.
- Spices: Cinnamon, cardamom, or chili can create exciting custom flavors.
Equipment Guide
Depending on which method you choose, you’ll need some or all of these tools:
Basic Equipment (Essential for All Methods):
- Digital kitchen scale (precision is crucial in chocolate making)
- Heatproof mixing bowls
- Silicone spatulas
- Double boiler or a bowl that fits over a pot
- Chocolate molds or parchment-lined baking sheet
- Microwave (alternative to double boiler)
Intermediate Equipment (For Better Results):
- Digital thermometer (crucial for tempering)
- Fine mesh sieve
- Immersion blender or food processor
- Plastic chocolate scraper
Advanced Equipment (For Enthusiast Method):
- Melanger/wet grinder (for refining chocolate from nibs)
- Chocolate tempering machine
- Vibrating table (removes air bubbles)
Method 1: The Quick & Easy (Cocoa Powder Base)
This method is perfect for beginners and those looking for immediate chocolate gratification. While the texture may not be identical to store-bought chocolate, the flavor can be exceptional.
Ingredients:
- 1/2 cup (50g) cocoa powder
- 1/2 cup (100g) cocoa butter
- 1/3 cup (40g) powdered milk
- 1/4 cup (50g) powdered sugar
- 1/4 tsp salt
- 1/2 tsp vanilla extract
- 1 tsp soy lecithin (optional but recommended)
Instructions:
- Prepare your workspace: Clean and dry all equipment thoroughly. Even small water droplets can cause chocolate to seize.
- Melt the cocoa butter: Using a double boiler (or microwave in 30-second intervals), gently melt the cocoa butter until completely liquid. Keep temperature below 115°F (46°C).
- Add dry ingredients: Sift the cocoa powder, powdered milk, and powdered sugar together, then gradually add to the melted cocoa butter, stirring continuously until fully incorporated.
- Add emulsifier and flavorings: Stir in the lecithin, salt, and vanilla extract until completely combined.
- Blend for smoothness: For best results, use an immersion blender to process the mixture for 1-2 minutes. This significantly improves texture.
- Pour and set: Pour the chocolate into molds or onto a parchment-lined baking sheet. Tap gently to remove air bubbles.
- Cool properly: Allow to cool at room temperature for 20 minutes, then refrigerate for at least 2 hours until completely set.
Pro tip: For a smoother result, repeat steps 2-5 twice, allowing the chocolate to cool slightly between mixings.
Method 2: The Upgraded (Cocoa Butter Base)
This method produces a more authentic milk chocolate with better snap and mouthfeel by incorporating proper tempering techniques.
Ingredients:
- 100g cocoa butter
- 50g cocoa powder
- 70g powdered milk (whole)
- 80g powdered sugar
- 1/4 tsp salt
- 1 tsp vanilla extract
- 2g (approx. 1 tsp) soy or sunflower lecithin
Instructions:
- Melt cocoa butter: In a double boiler, melt cocoa butter to 115°F (46°C).
- Add ingredients: Sift and add cocoa powder, milk powder, and sugar. Mix thoroughly.
- Add lecithin and flavorings: Mix in lecithin, salt, and vanilla.
- Simple tempering process:
- Cool the chocolate to 80°F (27°C) by removing from heat and stirring constantly.
- Gently reheat to 86-88°F (30-31°C) for milk chocolate.
- Test by dipping a clean knife tip in chocolate – it should begin to set within 3-5 minutes.
- Mold and set: Pour into molds, tap to remove bubbles, and allow to set at room temperature (not in refrigerator).
Tempering creates a stable crystal structure in the cocoa butter, giving your chocolate that professional snap, shine, and melt-in-your-mouth quality.
Method 3: The Enthusiast (Bean-to-Bar Introduction)
For those ready to dive deeper into chocolate making, this method involves working directly with cacao nibs or beans to create truly artisanal chocolate.
Ingredients:
- 200g cocoa nibs (or roasted and husked cocoa beans)
- 50g cocoa butter
- 80g powdered milk
- 70g fine sugar
- 2g lecithin
- 1/2 tsp vanilla extract
- Pinch of salt
Equipment needed: Grinder/melanger (a Champion juicer, Vitamix, or dedicated chocolate melanger)
Simplified Process Overview:
- Grinding: Process cocoa nibs in your grinder until they release their fat and become liquid (cocoa liquor).
- Refining: Add remaining ingredients and continue grinding/refining for several hours (typically 12-24 hours for smooth chocolate). Temperature during refining should stay around 120°F (49°C).
- Tempering: Follow tempering procedure from Method 2.
- Molding and setting: Pour into molds and allow to set at room temperature.
This method requires patience but rewards with truly unique, personalized chocolate with complex flavor notes that can’t be achieved with pre-processed ingredients.
The Science Explained Simply
Tempering: Creating Perfect Crystal Structure
Tempering is all about controlling cocoa butter crystallization. Cocoa butter can form six different types of crystals, but only one type (Type V) creates that perfect snap, shine, and mouthfeel we associate with quality chocolate.
The tempering process in simple terms:
- Melting: Eliminates all crystal structures
- Cooling: Encourages multiple crystal types to form
- Reheating: Melts unstable crystals while preserving Type V crystals
- Working temperature: Maintains ideal environment for Type V crystals to dominate
Think of it like building with blocks – tempering ensures all your cocoa butter molecules stack in the most stable, organized way possible.
Emulsification: Oil and Water Harmony
Chocolate contains both fat-loving and water-loving molecules that naturally want to separate. Lecithin acts as a mediator, with one end attracted to fat and one end attracted to water, creating a bridge that keeps everything mixed smoothly.
Without an emulsifier, chocolate often becomes thick and difficult to work with, and ingredients may separate over time.
Particle Size: The Secret to Smoothness
Commercial chocolate undergoes extensive refining to reduce particle size to about 20 microns or smaller – below what your tongue can detect. The longer you refine your chocolate (even with basic methods), the smoother it becomes.
This is why Method 3 produces the smoothest results – extended grinding breaks down sugar and milk particles until they’re imperceptible to your palate.
Troubleshooting Guide
| Problem | Possible Causes | Solution |
|---|---|---|
| Grainy Texture | Inadequate mixing, large sugar particles | Sift dry ingredients, blend longer, consider adding more lecithin |
| Chocolate Seized | Water contamination, overheating | Start over. For minor seizing, try adding more cocoa butter |
| Fat Bloom (white streaks) | Improper tempering, temperature fluctuations | Re-melt and properly temper the chocolate |
| Sugar Bloom (rough surface) | Condensation exposure | Store properly in cool, dry place; re-melt if necessary |
| Won’t Harden | Too little cocoa butter, improper cooling | Add more cocoa butter; cool at correct temperature |
| Too Bitter | Too much cocoa powder, not enough sugar | Adjust ratio in next batch; add a bit more sugar or milk powder |
| Too Sweet | Excessive sugar | Reduce sugar in next batch; balance with more cocoa |
| Doesn’t Melt Smoothly | Poor emulsification, improper tempering | Add lecithin, improve tempering technique |
Storing Your Homemade Milk Chocolate
Proper storage is crucial for maintaining quality:
- Temperature: Store between 60-70°F (15-21°C) in a cool, dry place.
- Wrapping: Wrap tightly in foil or wax paper, then place in an airtight container.
- Shelf life: Properly made and stored homemade milk chocolate lasts 2-3 weeks at room temperature, 1-2 months refrigerated, and up to 6 months frozen.
- Avoid: Refrigeration without proper wrapping (causes condensation and sugar bloom).
Ways to Use Your Creation
Your homemade milk chocolate isn’t just for eating out of hand (though that’s wonderful too!):
- Chop into chunks for the ultimate chocolate chip cookies
- Create homemade chocolate-covered strawberries
- Make ganache for cakes or truffles
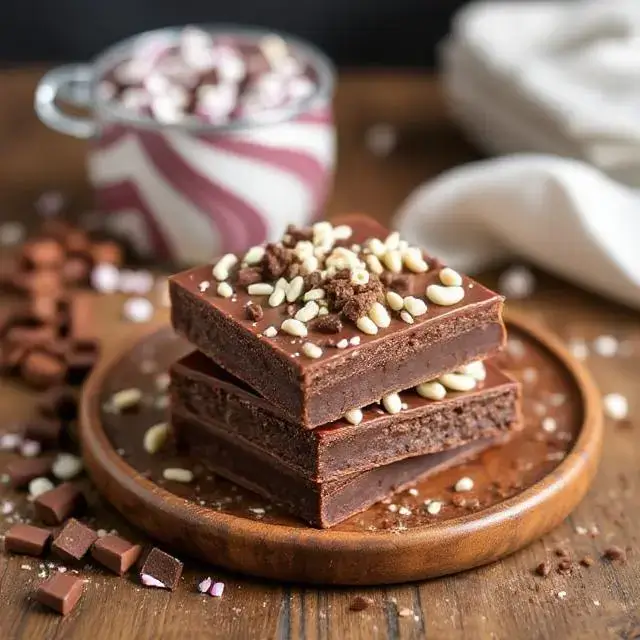
- Craft chocolate bark with nuts and dried fruits
- Melt into hot chocolate for the most luxurious cup you’ve ever tasted
Conclusion
Making milk chocolate at home is both an art and a science – one that rewards experimentation and practice. Whether you choose the quick method or dive into bean-to-bar crafting, the process offers unparalleled customization and the satisfaction of creating something truly special.
The difference between good and exceptional homemade chocolate often comes down to attention to detail: quality ingredients, proper tempering, and patient refining. With each batch, you’ll gain insights that help you refine your technique and develop your perfect chocolate formula.
FAQ
Is homemade milk chocolate healthier than store-bought? It can be, depending on your ingredients. Homemade chocolate allows you to control sugar content, avoid preservatives and emulsifiers, and select high-quality cocoa. However, milk chocolate by nature contains sugar and fat, so moderation is still key.
Can I make milk chocolate without milk powder? Yes! You can use coconut milk powder for a dairy-free version. Some recipes also use condensed milk, though this affects the setting properties.
Why is my homemade chocolate not as smooth as commercial chocolate? Commercial manufacturers use specialized equipment that refines chocolate particles to about 20 microns. Without industrial conching machines, achieving this smoothness is challenging but possible with extended processing in a melanger.
How long does it take to make milk chocolate from scratch? The quick method takes about 1-2 hours plus setting time. The bean-to-bar method can take 24-48 hours from roasting to finished chocolate.
Can I use regular granulated sugar instead of powdered sugar? You can, but your chocolate may have a grainier texture. For best results, grind granulated sugar into a fine powder in a coffee grinder before using.
Is tempering really necessary? For chocolate that snaps, has a glossy appearance, and doesn’t melt immediately on touch, yes. Untempered chocolate is still delicious but will have a softer texture and may develop bloom more quickly.
What’s the minimum equipment I need to start making chocolate? A double boiler, thermometer, molds, and basic kitchen tools are enough to begin with Method 1. As you advance, you might want to invest in more specialized equipment.
Can I add nuts, dried fruits, or other mix-ins to my homemade milk chocolate? Absolutely! Add them after tempering, just before pouring into molds. Ensure additions are completely dry to prevent seizing.
Share Your Creation!
I’d love to see how your milk chocolate turns out! If you make this recipe, please leave a comment and rating below. You can also share your creation by tagging me on pinterest @bake_iteasy with the hashtag #milk chocolate.
Did you try our recipe ?
There are no reviews yet. Be the first one to write one.