Artisanal Batard Bread: Bake the Perfect Loaf
Table of Contents

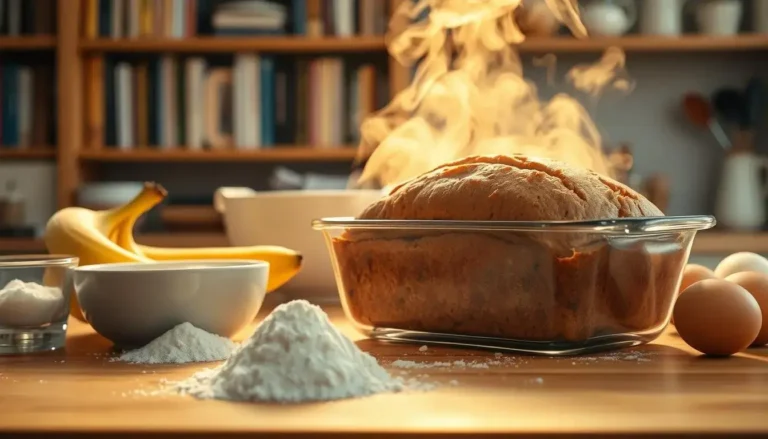
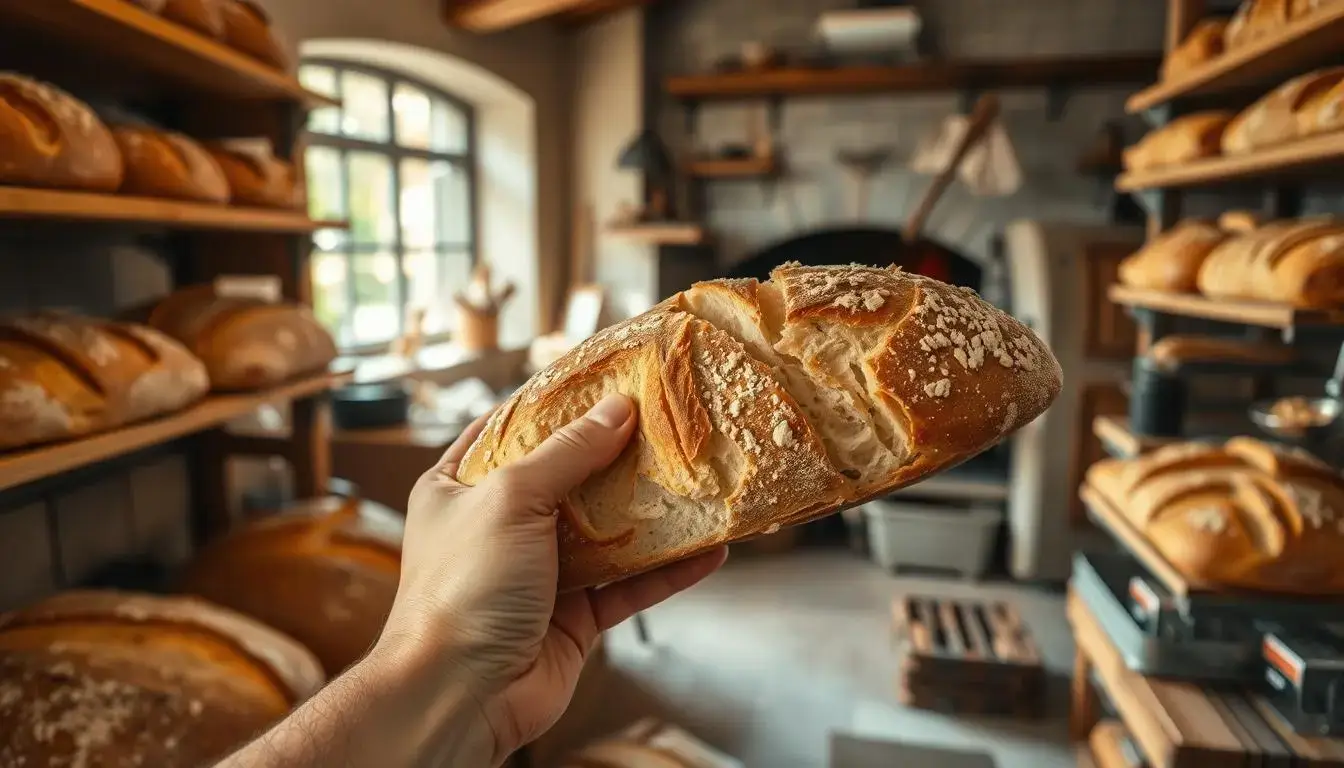
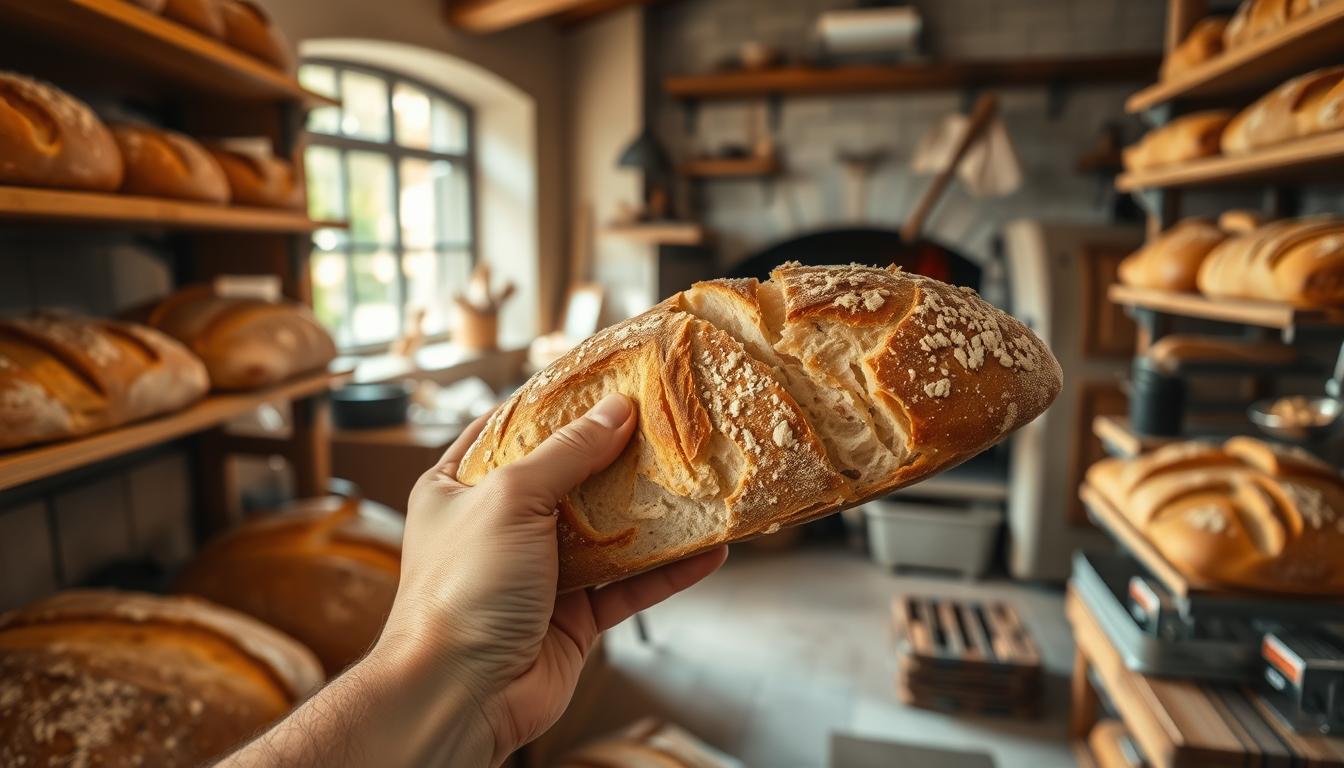
The smell of freshly baked batard bread takes you to a French bakery. Your journey into making artisan bread starts with the magic of this iconic oval-shaped loaf. Batard bread is more than food; it connects you to baking traditions for centuries.
This bread, shaped like a football, is a fun challenge for home bakers. Whether you’re new or experienced, learning to make artisan bread opens up a world of creativity. Your kitchen will soon smell amazing with perfectly baked batard bread.
Making great batard bread needs passion, patience, and precision. You’ll learn to pick the best ingredients and understand how yeast works. This turns simple flour, water, salt, and yeast into a bread masterpiece.
Key Takeaways
- Batard bread is a classic French-style oval-shaped loaf
- Artisan bread making is both a science and an art
- Proper techniques are crucial for achieving perfect texture
- Home bakers can master professional-level bread techniques
- Quality ingredients make a significant difference in bread quality
Understanding the Art of French Bread Making
French bread making is a culinary art that turns simple ingredients into amazing creations. It’s a tradition of craftsmanship that goes beyond just making food. Your journey into french bread will show you a process that mixes science, skill, and passion.
The history of artisan bread making goes back centuries, rooted in European traditions. Bakers have honed techniques to make basic ingredients into loaves with deep flavors and textures.
Roots of Traditional Bread Crafting
Traditional bread baking focuses on a few key principles:
- Using minimal ingredients
- Hand-crafting techniques
- Slow fermentation processes
- Picking ingredients with care
Essential Equipment for Artisan Baking
To make authentic french bread at home, you’ll need specific tools. These tools will enhance your bread baking experience:
| Equipment | Purpose |
|---|---|
| Banneton Basket | Shaping and proofing dough |
| Razor Blade/Lame | Scoring bread surface |
| Dutch Oven | Creating crispy crust |
| Kitchen Scale | Precise ingredient measurement |
Mastering artisan bread baking takes patience, practice, and respect for traditional techniques. Your dedication to learning these methods will turn your bread into a true art form.
Essential Ingredients for Perfect Batard Bread
Making great rustic bread starts with the right ingredients. Each part adds to the flavor, texture, and look of your loaf.
Your journey to making bread begins with quality flour. For a traditional batard, mix different flours for depth and character:
- All-purpose flour: 375 grams (Wheat Montana Blue bag)
- Whole-wheat flour: 125 grams (Conservation Grains Snowgoose)
- Bread flour: Unbleached King Arthur (5 ⅓ cups)
Water is key in making rustic bread. The right amount of water affects your bread’s structure. Use about 325 grams of water for a 70% hydration level. This helps create a unique “ear” on your loaf.
For sourdough, you’ll need:
- 150 grams active sourdough starter
- 10 grams sea salt or Kosher salt
- White rice flour for dusting proofing baskets
Professional bakers suggest trying different flours. Try Conservation Grains Bucking the Sun Pizza flour or Highland Harmony Farm all-purpose flour. They can add new flavors to your bread.
Mastering the Sourdough Starter
Creating a sourdough bread starter is key to making great artisan bread. It turns simple ingredients into a living, breathing wonder. Your sourdough journey starts with learning about the tiny organisms that make bread alive.
Sourdough bread needs patience and precision. It’s made by wild yeasts and bacteria mixing with flour and water. This creates flavors that commercial yeasts can’t match.
Creating Your Own Levain
To start your sourdough adventure, you’ll need:
- Organic whole wheat flour
- Filtered water
- Large glass jar
- Kitchen scale
Start with equal parts flour and water by weight. Consistency is key in bread leavening. Mix well and let it rest at room temperature, between 70-75°F.
Maintaining Starter Health
A healthy sourdough starter needs regular feeding and care. Discard half your starter before each feeding. This keeps the microbial balance right.
Signs of a Ripe Starter
Look for these signs of a mature starter:
- Doubled in volume
- Bubbles throughout the mixture
- Pleasant, slightly tangy aroma
- Peaks and begins to recede
With practice, you’ll get to know your sourdough starter’s rhythm and personality.
The Science of Dough Hydration
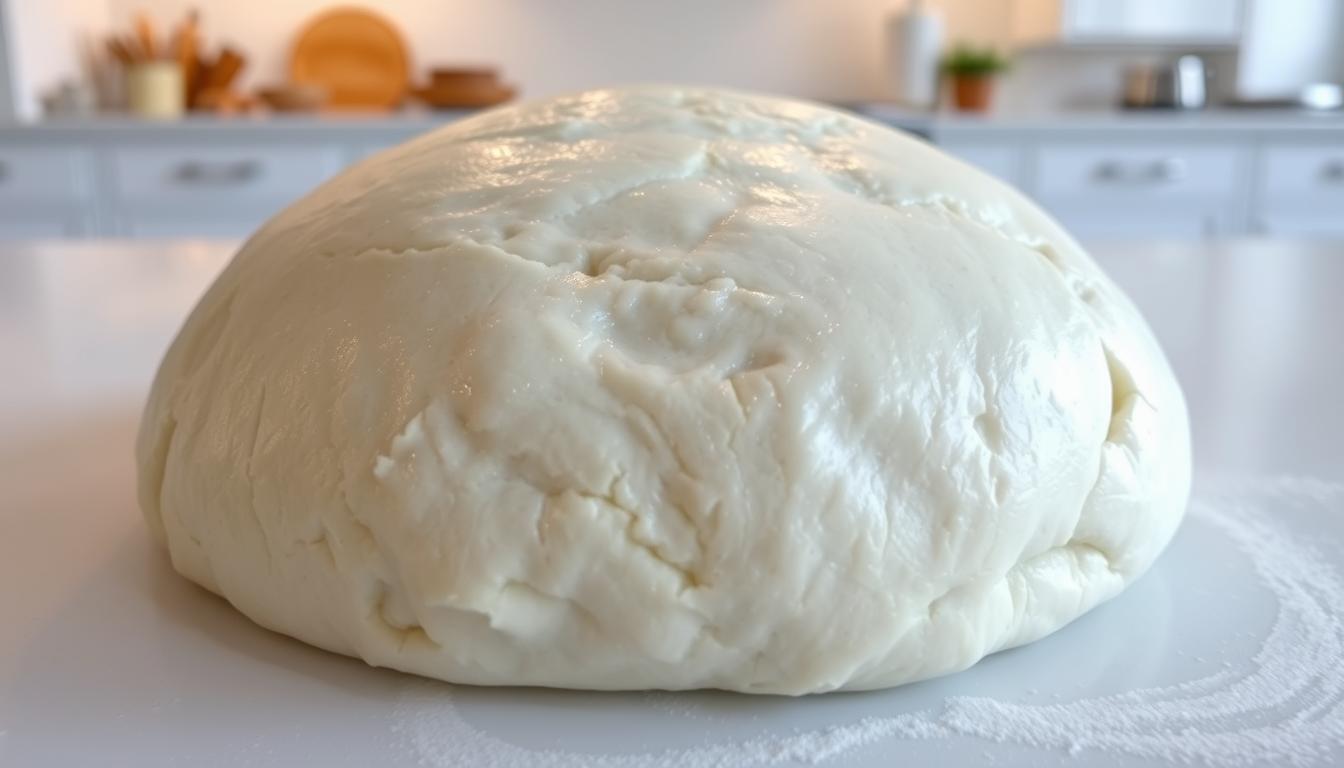
Understanding dough hydration is key in bread baking, especially for crusty bread like batard. Hydration is the water-to-flour ratio. It greatly affects your bread’s texture and structure.
In bread baking, hydration is a major factor. It shapes your loaf’s characteristics. Different hydration levels change your bread’s outcome:
- Low hydration (50-55%): Produces denser, tighter crumb
- Medium hydration (60-65%): Creates balanced texture
- High hydration (70-80%): Develops open, airy crumb
For a perfect crusty bread, aim for 60-65% hydration. This range offers a great balance. Higher hydration makes dough harder to work with but gives a crisp exterior and open crumb.
| Hydration Level | Bread Characteristics |
|---|---|
| 50-55% | Compact, tight crumb |
| 60-65% | Balanced texture, ideal for batard |
| 70-80% | Open crumb, more challenging to handle |
Mastering dough hydration takes practice. Start with recommended percentages. Then, experiment to see how water content affects your bread’s texture and crust.
Mastering Batard Bread Techniques
Artisan bread making needs precision and knowing key fermentation techniques. These techniques turn simple ingredients into complex, tasty loaves.
Success in making artisan bread comes from mastering important techniques. These techniques help create amazing flavor and texture.
Pre-fermentation Process
The pre-fermentation stage is key for deep flavor in your artisan bread. Here, you work with ingredients to boost the bread’s complexity.
- Develop stronger gluten networks
- Increase flavor complexity
- Improve bread digestibility
Understanding the Autolyse Method
The autolyse method lets flour and water rest before adding salt and yeast. This method helps glutens develop naturally, making the dough more extensible.
| Autolyse Benefits | Duration |
|---|---|
| Improved Gluten Development | 20-40 minutes |
| Enhanced Flavor Complexity | Room Temperature Rest |
| Better Dough Elasticity | Before Adding Yeast |
Bulk Fermentation Tips
Bulk fermentation is when your bread really comes to life. Here, you’ll see your dough change through strategic resting and folding.
- Monitor dough volume increase
- Perform gentle stretch and folds
- Maintain consistent temperature
- Observe bubble formation
Professional bakers know that patience during bulk fermentation creates extraordinary artisan bread with remarkable depth of flavor.
Professional Shaping Methods for Batard
Shaping batard bread is an art that turns simple ingredients into a stunning masterpiece. Professional bakers know that getting the perfect oval shape takes skill and precision. Your batard bread’s success depends on mastering two key shaping techniques, tailored to your dough’s characteristics.
Dough shaping involves two main methods:
- Low-Hydration Dough Method: Gentle folding for firmer doughs
- High-Hydration Dough Method: More aggressive folding and stitching
Surface tension is key in developing your artisan bread’s structure. When shaping batard bread, aim for a taut skin. This helps the loaf rise evenly during baking. A bench knife is your go-to tool for precise dough manipulation.
Key considerations for professional batard bread shaping include:
- Choose the right proofing basket (10-11 inches for 600-900g dough)
- Avoid overly tapered ends to prevent spreading
- Handle the dough gently to keep the surface intact
- Pre-shape to set the initial structure
By learning these professional techniques, you’ll elevate your home baking. You’ll create batard bread that looks and tastes like it came from a bakery.
Scoring and Decorative Techniques
Bread scoring is key to making your artisan bread stand out. It not only looks better but also helps control how the bread grows while baking.
Learning to score bread is important. You need to know both how to make it look good and how to help it bake right. The right scoring can make your bread look like it was made by a pro.
Basic Scoring Patterns
Start with simple patterns if you’re new to scoring:
- Single lengthwise cut down the center of a batard
- Cross-shaped slash for round loaves
- Square pattern for even expansion
Advanced Design Elements
Once you get better, try more complex designs:
- Wheat stalk patterns
- Leaf-inspired designs
- Spiral decorations
Tools for Perfect Scoring
For clean cuts, use the right tools:
- Wire Monkey lames de boulanger for sharp, precise cuts
- Razor blades for intricate details
- Rice flour for creating surface contrast
For great scoring, chill your dough for 30 minutes first. Use a sharp blade and make deep cuts. Scoring lets steam out, helping your bread expand evenly and avoiding cracks.
Achieving the Perfect Crust and Crumb
Making the perfect crusty bread is all about finding the right balance. It’s about getting both the crust and the crumb just right. Professional bakers know that texture is key to a great loaf.
Several things affect your bread’s texture:
- Hydration levels around 75%
- Precise temperature control
- Strategic steam injection
- Gentle dough handling
Steam is very important for a great crust. In the first part of baking, steam keeps the dough’s surface soft and pliable. This lets the dough rise well and prevents the crust from getting too hard too fast. You end up with a thin, crispy outside and an airy, open crumb.
Keeping the temperature right is also key. Start at 500°F, then drop to 450°F for that golden-brown crust. Scoring the dough, between 1/4 to 1/2 inch deep, helps control how it expands and looks better.
Using a baking shell or Dutch oven helps manage steam well. These tools ensure you get that bakery-quality crusty bread every time.
The secret to a perfect loaf lies in understanding how heat, moisture, and technique work together.
Always handle your dough gently. This keeps the air pockets in the dough, making the crumb light and open. Let your bread cool completely to set the crust and bring out its full flavor.
Troubleshooting Common Batard Issues
Bread baking can be tough, even for pros. Knowing common problems helps you get better at making perfect batard bread.
Professional bakers see bread making as both science and art. Unexpected problems can pop up, but knowing how to fix them is key.
Addressing Dense Crumb Problems
A dense crumb can come from a few things:
- An inactive or weak sourdough starter
- Not enough gluten development
- Proofing for too short a time
- Wrong hydration levels
Fixing Spreading Issues
When your batard spreads instead of rising, try these fixes:
- Make the surface stronger when shaping
- Use a banneton for better shape
- Make sure to develop enough gluten
- Check the proofing area’s temperature
Managing Oven Spring
| Issue | Potential Cause | Solution |
|---|---|---|
| Weak Oven Spring | Low steam | Use a Dutch oven or add water to hot tray |
| Uneven Rising | Inconsistent dough temperature | Proof at stable room temperature |
| No Ear Formation | Shallow scoring | Score deeper at a 45-degree angle |
Every bread baking challenge is a chance to learn and get better at making artisan bread.
Conclusion
Learning to make artisan bread, like the classic batard, turns home baking into a true art. You’ll get better at making loaves with a perfect crust and soft inside. These skills go beyond just one recipe.
Every batard bread you make is a personal win. You’ll learn to manage sourdough starters, control hydration, and shape dough like a pro. As you get more confident, you can try new things and find your own baking style.
Bread making is a mix of science and art. You’ve learned the basics, but your creativity and love for baking will make your bread special. Enjoy the journey, learn from each try, and share your delicious bread with others. Your batard bread journey is just starting.
Share Your Creation!
I’d love to see how your Batard Bread turns out! If you make this recipe, please leave a comment and rating below. You can also share your creation by tagging me on pinterest @bake_iteasy with the hashtag #Batard Bread.
FAQ
What is a batard bread?
How is a sourdough starter different from commercial yeast?
What is the importance of dough hydration?
Why do bakers score their bread?
What flour is best for making batard bread?
How can I tell if my sourdough starter is ready to use?
What are common challenges when making batard bread?
How important is water temperature in bread baking?
Can I make batard bread without a sourdough starter?
What equipment do I need to start making artisan batard bread?
Did you try our recipe ?
There are no reviews yet. Be the first one to write one.