Make the Famous Matilda Chocolate Cake at Home
Table of Contents

Imagine sinking your fork into a slice of the most decadent chocolatey dessert. It’s inspired by Roald Dahl’s beloved character Matilda. This cake turns a simple dessert into a culinary adventure that sparks joy and nostalgia.
From the moment you first saw Miss Honey share this rich, moist creation in the movie, you knew it was special. The Roald Dahl creation has captured the hearts of chocolate lovers everywhere. It promises an indulgent experience that goes beyond mere baking.
Whether you’re a fan of the book, the movie, or simply a chocolate enthusiast, this recipe will transport you to a world of sweet imagination. Get ready to create a masterpiece that’s as magical as Matilda herself.
Key Takeaways
- Recreate the iconic Matilda chocolate cake at home
- Experience a rich and moist chocolatey dessert
- Capture the magic of Roald Dahl’s beloved story
- Learn professional baking techniques
- Create a memorable dessert for all ages
The Story Behind Matilda’s Chocolate Cake
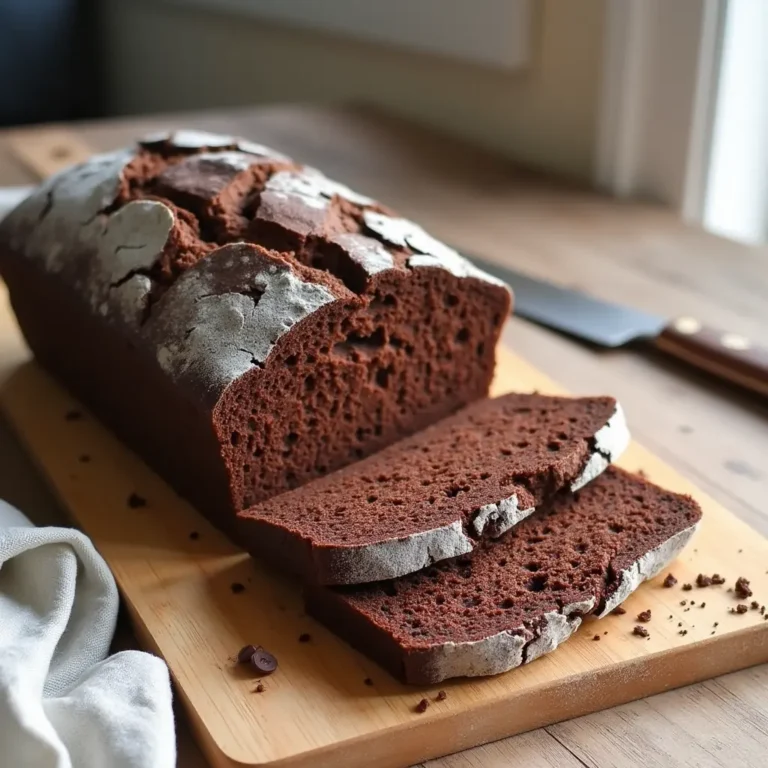
Every legendary cocoa treat has a story, and Matilda’s chocolate cake is no exception. This dense cake came from Roald Dahl’s world. It captured readers and movie fans with its rich charm and bold spirit.
The cake scene in Roald Dahl’s book and film became a big deal. It turned a simple dessert into a sign of childhood bravery. People loved watching Matilda stand up to her mean headmistress with a big chocolate cake.
Literary Origins that Sparked Imagination
Dahl’s storytelling made this cake more than just a treat. It became a symbol of Matilda’s fight against grown-ups. The cake was her way to show she wouldn’t be pushed around.
- Symbolized childhood rebellion
- Represented triumph over oppression
- Transformed a basic dessert into a cultural icon
Why This Cake Captured Hearts
The cake’s fame comes from its ability to bring back memories and celebrate pure happiness. Its deep chocolate taste and exciting story made it more than just a recipe. It became a favorite moment in pop culture, inspiring bakers and chocolate lovers everywhere.
“Sometimes you have to be a little bit naughty” – Matilda Wormwood
Essential Ingredients for the Perfect Chocolatey Creation
Making a Matilda chocolate cake is all about the right ingredients. They turn a simple dessert into a beloved treat from childhood. Choosing top-notch ingredients is key to a great baking experience.
The success of your chocolate cake depends on the ingredients you pick. Let’s explore the essential parts that make this recipe stand out:
- Flour Foundation: 240g all-purpose flour provides the perfect structure
- Chocolate Depth: 70g unsweetened cocoa powder creates rich flavor
- Leavening agents: 2 tsp baking soda and 1 tsp baking powder ensure perfect rise
- Sweetness balance: 400g granulated sugar brings delightful sweetness
The liquid ingredients are crucial for moisture and depth. Eggs, buttermilk, and vegetable oil work together. They make the cake tender and delicious.
| Ingredient Category | Key Components | Quantity |
|---|---|---|
| Dry Ingredients | All-purpose flour | 240g |
| Chocolate Base | Unsweetened cocoa powder | 70g |
| Liquid Enhancers | Buttermilk | 240ml |
Pro tip: For an extra flavor boost, consider using Dutch-processed cocoa powder. This special ingredient intensifies the chocolate flavor and creates a smoother, more luxurious texture in your cake.
Remember, the quality of your ingredients directly impacts the final result. Invest in fresh, premium ingredients to transform your baking from ordinary to extraordinary.
The Secret to Rich and Moist Matilda Chocolate Cake
Making the perfect dense cake is all about the ingredients. The Matilda chocolate cake is more than just a dessert. It’s a moist treat that needs precision and special techniques to be truly rich.
To bake an amazing chocolate cake, you need the right ingredients. They must work together to give your cake an amazing texture and taste.
Dutch Processed Cocoa Powder Advantages
Dutch-processed cocoa powder makes your cake special. It offers several benefits:
- Smoother, less acidic chocolate flavor
- More intense dark color
- Better solubility in liquid ingredients
- Enhanced chocolate depth
Buttermilk and Sour Cream Magic
Buttermilk and sour cream make your cake incredibly tender. They are key to a soft cake texture.
| Ingredient | Function | Texture Impact |
|---|---|---|
| Buttermilk | Adds acidity | Tender crumb |
| Sour Cream | Increases fat content | Rich moisture |
Coffee Enhancement Technique
Coffee is a secret ingredient for deep chocolate flavor. A small amount of instant espresso powder can make your cake’s chocolate taste even better without tasting like coffee.
By balancing these ingredients, you’ll make a chocolate cake that’s unforgettable. It’s a tribute to the beloved Matilda dessert.
Kitchen Tools and Equipment Needed
To make the perfect chocolatey dessert, you need more than just good ingredients. The right kitchen tools can make your cocoa treat amazing. Let’s look at the essential equipment for making Matilda’s legendary chocolate cake.
Baking Essentials
- 3x 8-inch round cake pans
- Parchment paper for non-stick baking
- Digital kitchen scale for precise measurements
- Stand mixer or high-quality hand mixer
Choosing the right cake pans is key. Professional bakers say 8-inch round pans are best for even baking and the right layer thickness. A digital kitchen scale helps you measure ingredients accurately.
Mixing and Preparation Tools
- 2 large mixing bowls
- Sifter or fine-mesh strainer
- Whisk or paddle attachment
- Offset spatula for smooth frosting
- Wire cooling rack
The right tools can make your chocolatey dessert taste like it came from a bakery. A stand mixer with a paddle attachment makes the batter smooth. An offset spatula helps you frost like a pro.
Additional Recommended Tools
- Cake tester or toothpick
- Cake turntable (optional but helpful)
- Serrated knife for leveling layers
Get these tools, and you’ll be ready to make a dessert that would impress Matilda. Each tool is important for turning simple ingredients into a memorable treat.
Step-by-Step Cake Layer Preparation
Making the perfect dense cake needs precision and care. Your journey to a decadent treat starts with preparing the cake layers. Follow these steps to create a chocolate masterpiece that will wow dessert lovers.
Mixing the Dry Ingredients
Begin by collecting your dry ingredients for a top-notch chocolate experience. You’ll need a mix of ingredients for the perfect texture:
- ¾ cup Dutch processed cocoa powder
- 1 ¾ cups granulated sugar
- 2 cups all-purpose flour
- 2 teaspoons baking soda
- 1 teaspoon baking powder
- ¾ teaspoon kosher salt
Combining Wet Ingredients
The secret to a moist and rich cake is in mixing your wet ingredients well. Whisk together:
- 2 large eggs
- 1 cup buttermilk
- ½ cup vegetable oil
- ¾ teaspoon vanilla extract
Proper Baking Temperature and Timing
Getting the perfect dense cake requires paying attention to baking details. Preheat your oven to 350°F (175°C). Prepare two 8-inch cake pans with parchment paper. Mix wet and dry ingredients until just blended. Pro tip: Slowly add 1 cup of very hot water to make the batter smooth.
Bake for 35-40 minutes, checking with a toothpick. After baking, cool the cakes in pans for 10 minutes. Then, transfer them to cooling racks. This ensures your cake will be moist and delicious.
Creating the Decadent Chocolate Fudge Frosting
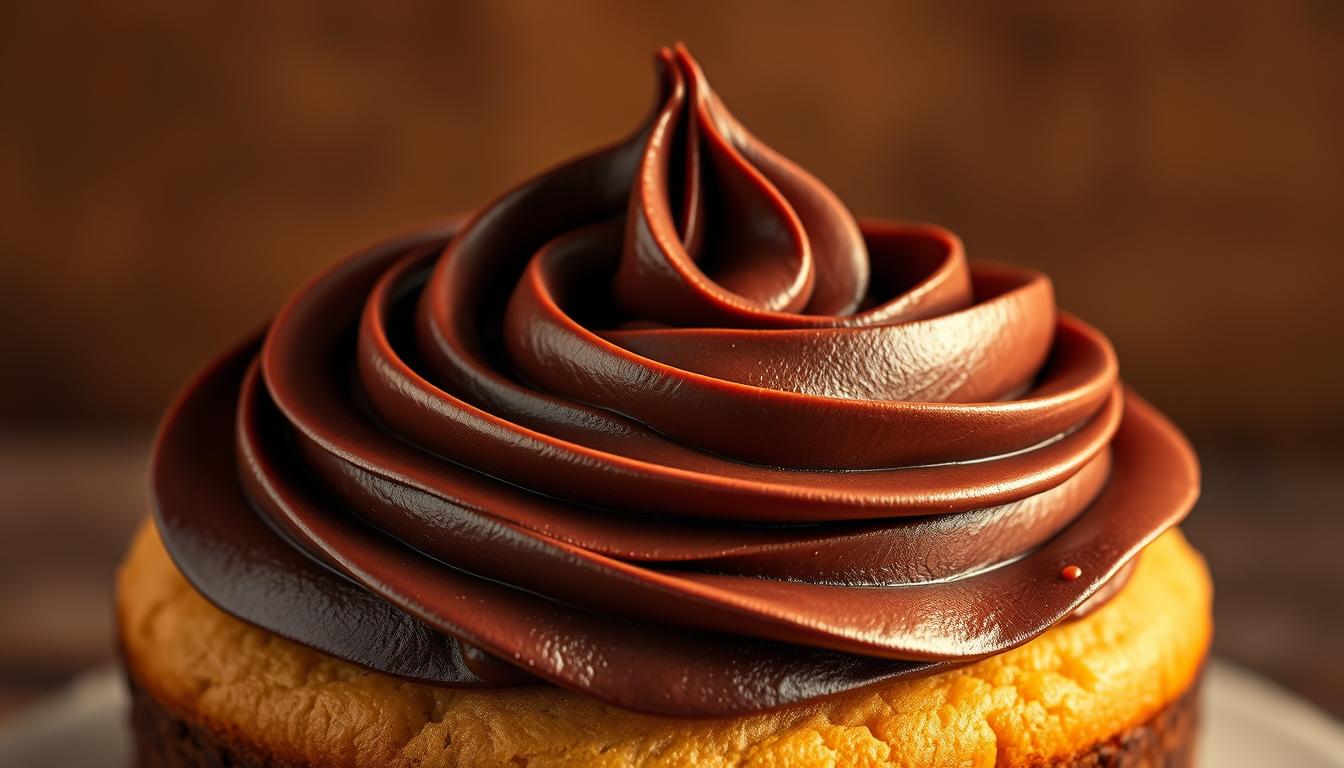
Turn your chocolate dessert into a magical treat with this amazing chocolate fudge frosting. The right frosting can make a simple cake into a special treat. It will make both kids and adults happy.
To make this rich frosting, you’ll need a few key ingredients:
- 315 gm unsalted butter
- 400 gm Cadbury Bournville 70% dark chocolate
- 30 gm Cadbury cocoa powder
- 320 gm heavy cream
- 160 gm powdered sugar
- ½ tsp salt
- 1 tsp vanilla extract
The secret to great frosting is in the technique. Begin by melting the butter, heavy cream, and dark chocolate in a saucepan over low heat. Stir continuously to prevent burning and keep it smooth.
Then, sift the cocoa powder and powdered sugar into the warm mix. This step avoids lumps and makes it silky. Keep stirring until it’s glossy and smooth.
Strain the mix through a fine-mesh sieve to remove any chocolate bits. Cover it with plastic wrap to stop a skin from forming. Let it cool at room temperature for 30 minutes, then chill for 1-2 hours until it’s spreadable.
Pro tip: If the frosting gets too hard, warm a small part in the microwave to soften it before mixing it back in.
Your homemade chocolate fudge frosting will last 2-3 days in the fridge. It’s great for preparing your dessert ahead of time.
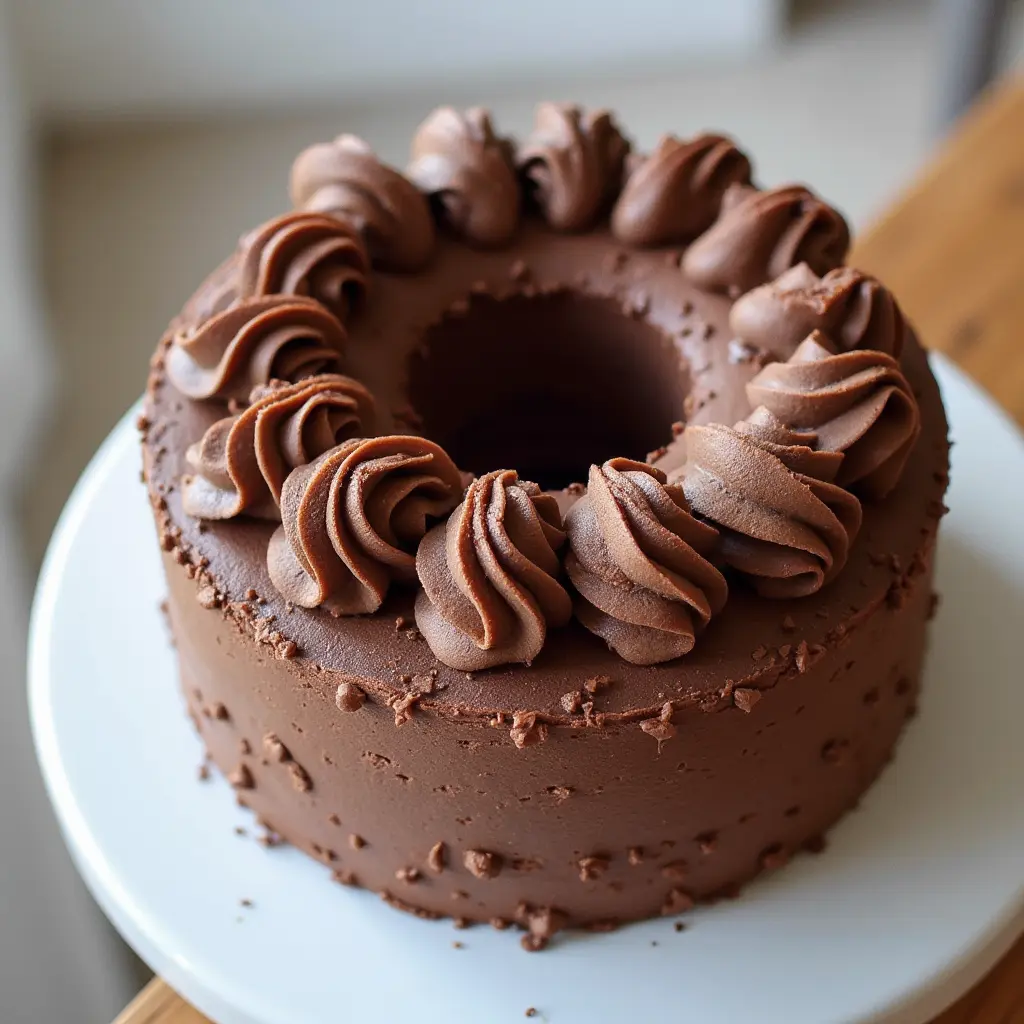
Assembly and Decoration Tips
To turn your homemade matilda chocolate cake into a masterpiece, focus on assembly and decoration. These steps can make your cake go from great to unforgettable. It will become a stunning centerpiece for any occasion.
Layer Stacking Technique
Building a beautiful matilda chocolate cake starts with placing layers carefully. Here’s how to do it right:
- Grease two 8-inch cake pans with butter or cooking spray
- Line pan bottoms with parchment paper for easy removal
- Allow cakes to cool completely before assembling
- Place first layer on serving plate with a frosting dollop as “glue”
Achieving the Perfect Frosting Finish
The key to a cake that looks like it was made by a pro is in the frosting. Use an offset spatula to make smooth, beautiful waves on the cake’s surface.
| Frosting Step | Technique |
|---|---|
| First Layer | Spread one-third of chocolate frosting evenly |
| Second Layer | Carefully place on top of first layer |
| Final Coat | Cover top and sides with remaining frosting |
For a fancy touch, sprinkle grated dark chocolate or chocolate chips on top. Your matilda chocolate cake will now be a true masterpiece that looks as good as it tastes!
Storage and Serving Recommendations

Your childhood favorite moist confection needs the right care. This keeps its texture and taste perfect. Storing your Matilda chocolate cake right lets you enjoy every crumb.
Short-Term Storage Techniques
- Keep the cake at room temperature in an airtight container
- Cover with an overturned bowl or plastic wrap
- Consume within 24-48 hours for optimal freshness
Refrigeration and Long-Term Preservation
Refrigeration is key for longer cake life. Wrap the cake well to keep moisture in and flavor rich.
| Storage Method | Duration | Recommended Technique |
|---|---|---|
| Refrigeration | Up to 5 days | Airtight container, plastic wrap |
| Freezing Unfrosted Layers | Up to 3 months | Double wrap in plastic and aluminum foil |
| Freezing Frosted Cake | Up to 1 month | Freeze 1 hour, then wrap securely |
Serving Suggestions
Let your cake come to room temperature before serving. Pro tip: Enjoy with vanilla ice cream or whipped cream for a special treat!
- Thaw frozen cake overnight in the refrigerator
- Let cake sit at room temperature for 30 minutes before serving
- Adjust frosting with a spatula if needed after thawing
Your Matilda chocolate cake, stored perfectly, will be a delightful treat. It captures the magic of your childhood favorite.
Common Troubleshooting Tips
Baking a perfect dense cake can be tough, even for pros. Knowing how to fix common problems will help you make a great Matilda chocolate cake every time.
To make your cocoa treat perfect, pay close attention and know the common mistakes. Here are some key tips to make sure your cake is moist and tasty:
Preventing a Dry Cake Texture
- Measure flour correctly by spooning into the measuring cup and leveling off
- Avoid overmixing the batter, which can create a tough texture
- Check cake doneness early – use a toothpick around the 20-minute mark
- Ensure your oven is preheated to the exact specified temperature
Frosting Fixes and Solutions
Frosting can be tricky, but these tips will help you achieve the perfect consistency:
- If frosting is too runny, chill it in the refrigerator for 15-20 minutes
- When frosting feels too hard, let it sit at room temperature
- Use Dutch Processed cocoa powder for the best results
- Let cakes cool completely before frosting – refrigerate for at least 1 hour
“Baking is an art, but precision is the key to success” – Unknown Pastry Chef
Remember, practice makes perfect. Don’t get discouraged if your first attempt isn’t flawless. Each baking experience helps you improve your skills and understand the nuances of creating a perfect dense cake.
Conclusion
Your journey through the Matilda Chocolate Cake recipe is more than baking. It connects you to a story of creativity and resilience. This is inspired by the beloved film and book.
Every slice of cake tells a story of triumph, just like Matilda. Whether for a birthday, potluck, or special event, you’re creating more than a dessert. You’re making a culinary experience that links literature and baking. The cake’s rich, fudgy texture and glossy finish make it a standout at any gathering.
By making this legendary cake, you join a tradition that spans generations. It’s not just about the taste; it’s about embracing your creativity and sharing joy. Your baking adventure shows the magic of culinary art and literary inspiration coming together.
So, grab your mixing bowl, preheat the oven, and start the sweet magic. Your perfect chocolate cake is waiting for you!
Share Your Creation!
I’d love to see how your Make the Famous Matilda Chocolate Cake at Home turns out! If you make this recipe, please leave a comment and rating below. You can also share your creation by tagging me on pinterest @bake_iteasy with the hashtag #Make the Famous Matilda Chocolate Cake at Home.
FAQ
What makes Matilda’s chocolate cake so special?
Can I substitute natural cocoa powder for Dutch-processed cocoa?
Why does the recipe include coffee if I don’t want a coffee-flavored cake?
How can I keep the cake moist after baking?
What if my frosting turns out grainy or separated?
Can I make this cake in advance?
What are some tips for preventing a dry cake?
Are there any dairy-free alternatives for this recipe?
Did you try our recipe ?
There are no reviews yet. Be the first one to write one.