Princess Cake
Table of Contents

Imagine unwrapping a culinary treasure that whispers stories of royal celebrations and delicate craftsmanship. The Swedish princess cake is more than a dessert. It’s a journey through Scandinavian baking tradition. Its elegant layers and enchanting green marzipan dome capture hearts.
When you first see a princess cake, its stunning appearance will strike you. Each slice shows a carefully made landscape of sponge cake, creamy filling, and vibrant marzipan. This Swedish cake is not just a treat. It’s a cultural experience waiting to be savored.
Key Takeaways
- Origin traced to Swedish royal princesses
- Distinctive green marzipan covering
- Complex layering technique
- Symbol of celebration in Sweden
- Annual Princess Cake Week celebration
What Makes a Swedish Princess Cake Unique
The prinsesstårta is a feast for the eyes and a taste of history. It’s more than a cake; it’s a symbol of Swedish baking’s elegance. This iconic Swedish dessert showcases the country’s rich culinary heritage.
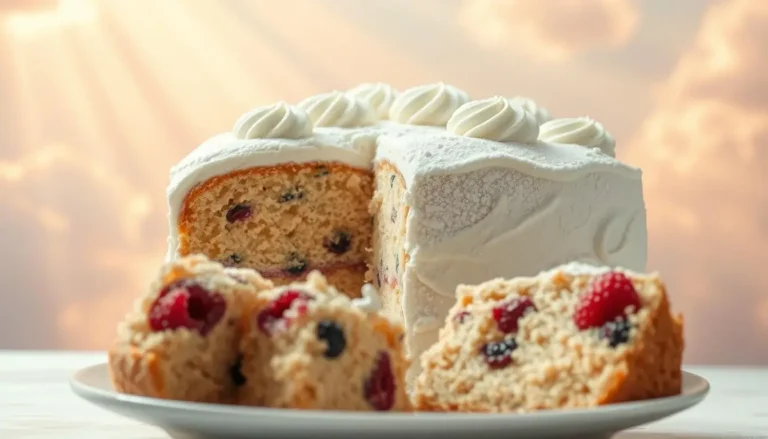
This cake is known for its unique features. It has six layers of sponge cake. These layers mix flavors and textures in a beautiful way.
Origins and Cultural Significance
Jenny Åkerström, a royal tutor, created the prinsesstårta in the 1920s. It quickly became a favorite in Sweden. Its royal ties and elegant design highlight Swedish baking’s excellence.
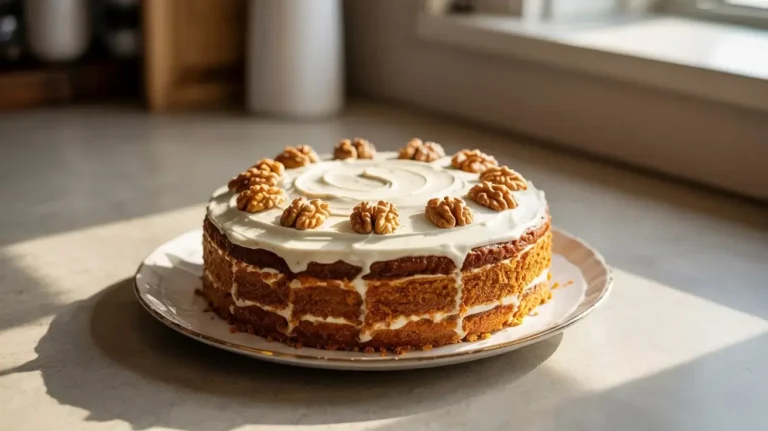
Traditional Components and Layers
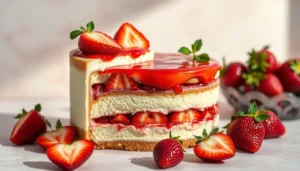
- Soft sponge cake base
- Optional thin layer of raspberry jam
- Creamy vanilla custard
- Light whipped cream layer
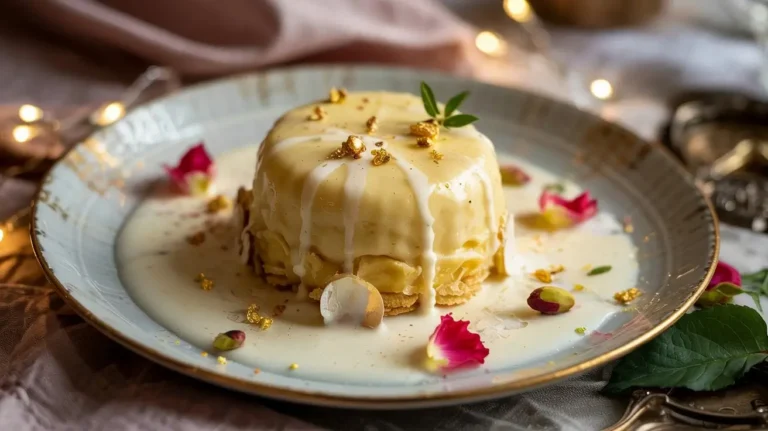
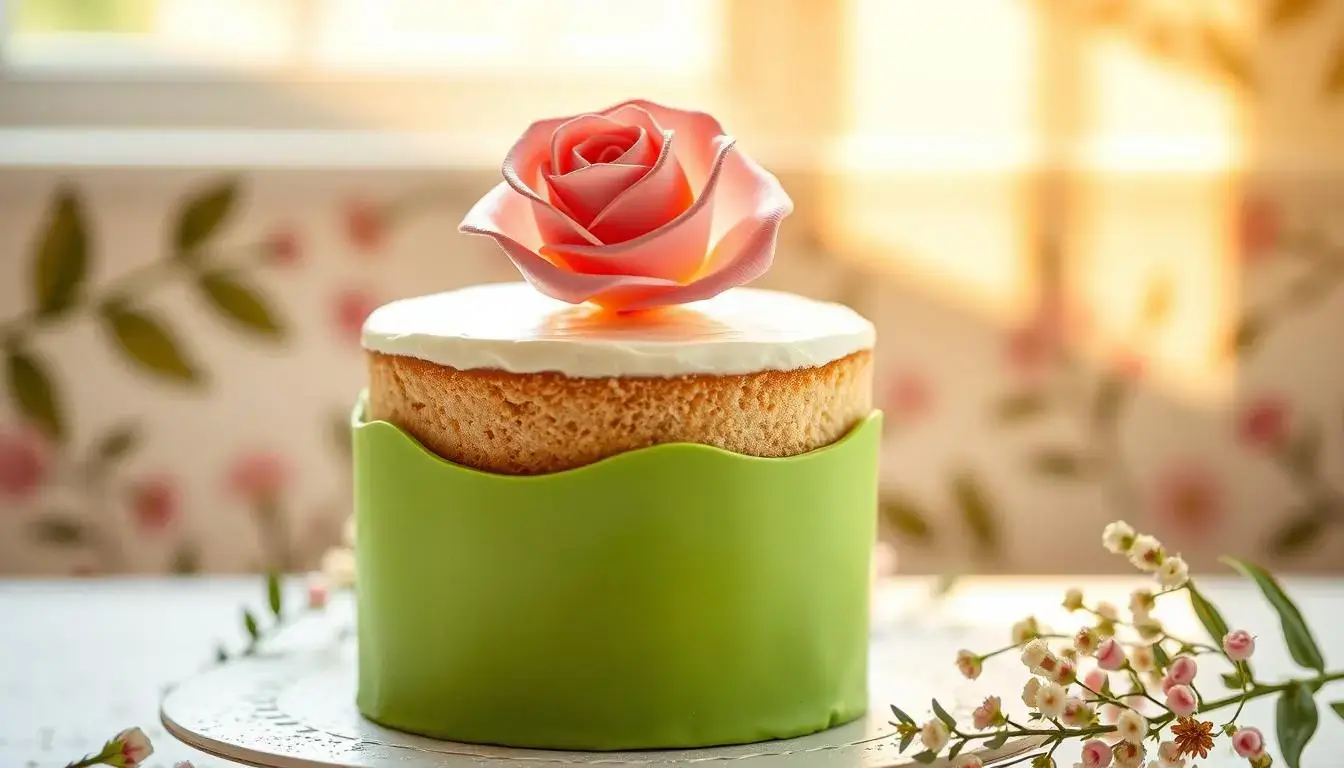
The Signature Green Marzipan Cover
The prinsesstårta’s green marzipan is its most striking feature. It needs skill to apply without cracking. This green marzipan adds a royal touch and a smooth finish.
Decorated with a pink marzipan rose, this cake is a masterpiece. Its layers and design make it a highlight at Swedish celebrations.
Essential Ingredients for Your Princess Cake
Making a real Princess Cake needs the right ingredients. Each part is important for the cake’s taste and feel.
- Sponge Cake Base
- 4 large eggs
- 1 1/4 cups white sugar
- 2 1/4 cups bleached cake flour
- 6 tablespoons salted butter
- 2 teaspoons vanilla extract
- Pastry Cream Filling
- 2 cups whole milk
- 4 large egg yolks
- 1/2 cup white sugar
- 3 tablespoons cornstarch
- 4 tablespoons cold butter
- 1 teaspoon vanilla extract
- Whipped Cream Filling
- 2 cups heavy cream
- 1/4 cup powdered sugar
The almond paste and marzipan are key for the cake’s look. You’ll need:
- 14 ounces marzipan
- 2-3 drops green gel food dye
- 25 grams plain marzipan for decoration
| Ingredient Category | Key Components | Quantity |
|---|---|---|
| Cake Base | Sponge Cake | Three layers |
| Filling | Raspberry Jam | 1 cup |
| Topping | Whipped Cream | 2 cups |
| Covering | Green Marzipan | 14 ounces |
Pro tip: Choose the best ingredients for a true Princess Cake. Fresh cream, well-baked sponge, and smooth marzipan make it unforgettable.
The Art of Making Perfect Sponge Layers
Making a flawless layered sponge is key to a stunning festive occasion cake. The princess cake needs precision and skill to get its light and airy texture right.
Achieving the Right Texture
Your sponge cake foundation needs careful attention. It should be delicate, soft, and soak up moisture without getting soggy.
- Use fresh, room-temperature eggs for maximum volume
- Sift dry ingredients to prevent lumps
- Fold ingredients gently to maintain air bubbles
Tips for Even Baking
Consistent baking makes your festive occasion cake look and taste amazing. Follow these steps for perfect results:
| Technique | Details |
|---|---|
| Oven Temperature | 350°F (175°C) |
| Baking Time | 20-25 minutes |
| Pan Preparation | Grease and line with parchment paper |
Proper Cooling Techniques
Cooling your sponge layers right prevents problems and makes cutting easy. Allow the cake to cool completely on a wire rack before slicing or assembling.
- Remove cake from pan immediately after baking
- Cool at room temperature for 10-15 minutes
- Refrigerate for easier slicing
- Trim dark surface before layering
Creating the Perfect Pastry Cream Filling
Making the perfect whipped cream filling is key for a traditional dessert like the Swedish Princess Cake. Your pastry cream is the luxurious heart of this treat. It needs precision and care.
- 4 cups whole milk
- 1 cup granulated sugar
- 3 tablespoons cornstarch
- 8 large egg yolks
- 2 tablespoons unsalted butter
- 3 teaspoons vanilla extract
The process starts with whisking sugar, cornstarch, and egg yolks until smooth. Then, heat milk and temper the egg mixture. Stir constantly to avoid scrambling.
| Ingredient | Quantity | Purpose |
|---|---|---|
| Whole Milk | 4 cups | Base liquid for creamy texture |
| Egg Yolks | 8 large | Provides richness and thickness |
| Vanilla Extract | 3 teaspoons | Enhances flavor profile |
Cook the mixture over medium heat until it thickens. Whisk continuously. Remove from heat, stir in butter and vanilla, then strain through a fine-mesh sieve. This ensures a silky smooth consistency. Cool the pastry cream completely before using it as a filling in your traditional dessert.
Remember, patience is key when making this whipped cream filling. Allow enough cooling time. This will help achieve the perfect texture that will make your Princess Cake stand out.
Mastering the Diplomat Cream Layer
Making the perfect whipped cream filling is key to a real Swedish cake. The diplomat cream is the heart of your cake. It turns simple ingredients into a rich dessert.
When making this layer, precision is crucial. You mix pastry cream with whipped cream. This mix creates a light, airy texture that makes the cake smooth.
Combining Pastry Cream and Whipped Cream
Creating diplomat cream needs careful steps. Here’s how to do it:
- Beat 1 batch of pastry cream until smooth
- Fold in 1/2 cup (113g) of cold heavy cream
- Gently mix to keep the cream light
Achieving the Ideal Consistency
Getting the whipped cream right is all about detail. You want a cream that’s stable but still light. It should hold its shape well.
| Technique | Purpose | Result |
|---|---|---|
| Reverse Taring | Precise ingredient measurement | Consistent layer thickness |
| Refrigeration | Setting the cream | Stable texture |
| Gentle Folding | Maintaining air volume | Light, fluffy consistency |
Pro tip: Chill your diplomat cream for up to 4 days. This keeps it fresh and perfect for your Swedish cake.
The Sweet Milk Soak Method

Turning a layered sponge into something special needs a secret trick: the sweet milk soak. This method makes your princess cake moist and full of flavor.
Making the milk soak is a careful task. You’ll need to mix:
- 1/4 cup whole milk
- 1 tablespoon granulated sugar
- 1/8 teaspoon table salt
- 1/8 teaspoon vanilla extract
When you soak the cake, aim for a moist but not soggy texture. Gentle application is key. Use a pastry brush to spread the mixture evenly on each layer.
“The perfect milk soak transforms a good cake into an unforgettable dessert experience.” – Pastry Chef Recommendation
Experts say the milk soak does more than just add moisture. It also boosts the cake’s flavor, making it more complex and enjoyable. Your sponge will be tender and rich, setting your cake apart.
With practice and patience, you’ll get better at this technique. Soon, your cake will be a masterpiece of taste and texture.
Working with Marzipan Coverage
Making the perfect green marzipan covering is key to a real princess cake. Almond paste turns a simple dessert into a beautiful showstopper. It pleases both the eyes and taste buds.
To make your marzipan, you need to be precise and use the right technique. You want a smooth, even layer that highlights the cake’s design.
Rolling Out the Perfect Marzipan Layer
Here are some important tips for working with marzipan:
- Use gel food coloring to get the right green color
- Roll it to a 0.5cm thickness
- Use marzipan spacers for evenness
- Apply a thin layer of jam for better sticking
Smooth Application Tips
Getting a smooth green marzipan cover takes practice. Start by gently covering the cake with almond paste. Use icing smoothers to get rid of air bubbles and wrinkles. Trim the edges carefully for a clean finish.
Pro tip: Let your marzipan-covered cake dry for 48 hours. This helps the covering set and keeps it looking perfect.
The art of marzipan is about patience and precision – take your time to create a truly spectacular princess cake!
Assembly Techniques for Princess Cake
Making a stunning Swedish cake needs precision and patience. Your layered sponge is the base of this elegant dessert. Start by preparing your cake layers carefully, making sure each piece is even and perfectly baked.
Building a princess cake involves a specific sequence. This turns simple ingredients into a culinary masterpiece. Here’s a step-by-step guide to building your whipped cream filling masterpiece:
- Begin with a base layer of sponge cake in a Dolly Varden cake pan
- Brush each layer with a sweet milk soak for added moisture
- Spread a thin layer of raspberry jam between cake layers
- Add diplomat cream to create smooth, rich filling sections
Your Swedish cake assembly needs attention to detail. The key is creating an even distribution of layers and maintaining structural integrity.
| Layer | Filling Component | Technique |
|---|---|---|
| Bottom Sponge | Raspberry Jam | Thin, even spread |
| Middle Layer | Diplomat Cream | Smooth, thick application |
| Top Layer | Whipped Cream | Dome-shaped finish |
Pro tip: Chill your cake overnight before adding the final whipped mascarpone layer. This helps stabilize the structure and makes the marzipan covering easier to apply.
When covering your cake, roll the marzipan into a 12-14 inch circle. Gently drape it over the domed cake, smoothing the sides carefully. Finish by creating a delicate marzipan rose or dusting with confectioners’ sugar for an elegant touch.
Professional Decorating Tips and Garnishes
To make your festive occasion cake look amazing, you need to be precise and creative. Cake decorating is more than just frosting. It’s an art that turns your princess cake into something truly special.

- Variety of round piping tips (sizes 2-12)
- Leaf tip (size 352) for intricate floral designs
- 12″ disposable piping bags
- Couplers and coupler rings
- Small paintbrushes for detailed work
- Gel food coloring for vibrant results
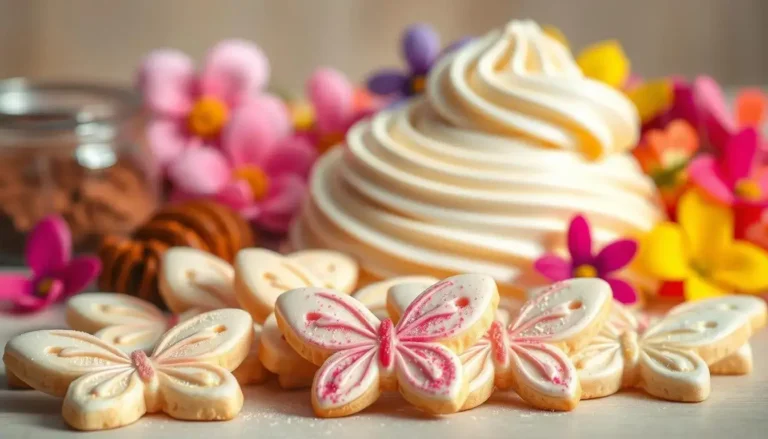
Creating Traditional Designs
Classic princess cake decoration often includes a delicate pink marzipan rose. This design needs patience and skill. Use small paintbrushes to add color and texture to the petals.
Modern Styling Options
Modern decorating lets you get creative while keeping the cake’s elegance. Try these new techniques:
- Brush embroidery for intricate patterns
- Dot patterns and swirl designs
- Abstract rose techniques
- Lace-inspired piping
| Decorating Technique | Difficulty Level | Time Required |
|---|---|---|
| Traditional Marzipan Rose | Advanced | 30-45 minutes |
| Brush Embroidery | Intermediate | 20-30 minutes |
| Dot Pattern Design | Beginner | 15-20 minutes |
Pro tip: Practice on wax paper before decorating your cake. It boosts your confidence and skill.
Storage and Serving Recommendations
Keeping a traditional dessert like the princess cake fresh is important. Follow these tips to keep your cake delicious and looking great.
Refrigeration is crucial for the cake’s quality. Store it in the fridge for up to 4 days. This keeps the layers and marzipan cover in perfect condition.
- Cover the cake loosely with plastic wrap to prevent moisture loss
- Store in the coldest part of your refrigerator
- Avoid placing near strong-smelling foods
Before serving, take the cake out of the fridge 30 minutes early. This lets it warm up a bit. It makes the flavors and texture better.
“A perfectly served princess cake is a work of culinary art” – Swedish Pastry Experts
For a fancy look, dust the top with powdered sugar just before serving. It adds a nice touch and makes the cake look amazing.
- Use a fine mesh sifter for even sugar distribution
- Serve on a beautiful cake stand
- Cut with a sharp, clean knife for perfect slices
Pro tip: Leftover cake layers can be wrapped tightly and stored at room temperature for up to 2 days. This gives you more time to bake.
Time Management and Preparation Schedule
Making a Swedish cake for a special event needs careful planning and time management. Success comes from breaking down the steps into easy parts. This helps you work efficiently and keeps stress low.
Professional bakers know that getting ready is crucial for a beautiful Swedish cake. By planning well, you can turn a complex dessert into a fun task.
Make-Ahead Components
Preparing parts ahead of time makes making your Swedish cake easier. Here are some tips:
- Sponge layers can be baked up to 2 days before assembly
- Pastry cream prepared 48 hours in advance
- Marzipan can be colored and rolled out one day prior
Day-of Assembly Timeline
Your special occasion cake needs careful planning on the day of serving. Here’s a suggested timeline:
| Time | Task | Duration |
|---|---|---|
| Morning | Remove pre-made components from refrigerator | 15 minutes |
| Mid-morning | Layer cake and apply cream filling | 30 minutes |
| Afternoon | Cover with marzipan and decorate | 45 minutes |
For a stress-free experience, set up your workspace early. Have all ingredients ready and be flexible for any surprises.
The key to a perfect Swedish cake is patience and precise preparation.
By using these time management tips, you’ll make a stunning Swedish cake. It will surely impress your guests at any festive event.
Conclusion
The princess cake is a true gem in traditional desserts, showcasing the heart of Scandinavian baking. It’s a journey through a world of flavors and techniques. Whether you’re a seasoned baker or just starting, making this cake connects you to Swedish traditions.
Every part of the princess cake has a story. From the green marzipan to the sponge, custard, and cream, it’s more than a treat. It’s a celebration of taste, skill, and beauty that has won hearts around the globe.
Learning to make the princess cake is about passion and tradition. It may seem complex, but the result is worth it. It’s a chance to honor Sweden’s culinary heritage with every bite.
Let the princess cake spark your next baking adventure. Its enduring charm and versatility make it a masterpiece. It’s a way to share the joy of great food across generations.
Share Your Creation!
I’d love to see how your Princess Cake turns out! If you make this recipe, please leave a comment and rating below. You can also share your creation by tagging me on pinterest @bake_iteasy with the hashtag #Princess Cake.
FAQ
What exactly is a Princess Cake?
Why is the cake covered in green marzipan?
How difficult is it to make a Princess Cake at home?
How long does a Princess Cake stay fresh?
Can I customize the Princess Cake’s flavor or decoration?
What makes the diplomatic cream special in this cake?
Is marzipan difficult to work with?
What occasions are best for serving a Princess Cake?
Did you try our recipe ?
There are no reviews yet. Be the first one to write one.